


A comprehensive pre-replacement assessment is crucial for successful full panel replacement. Skilled technicians inspect and diagnose vehicle alignment issues, perform necessary car paint repairs, and ensure structural integrity. The process involves careful preparation, precise marking, alignment guides (if needed), secure positioning, and fastening. Post-installation verification ensures perfect alignment, enhancing structural integrity, safety, and aesthetic appeal in auto body repair.
During a full panel replacement, precise panel alignment is crucial for both aesthetic appeal and long-term functionality. This comprehensive guide delves into the essential techniques for achieving perfect alignment. We start with assessing your roof prior to replacement, outlining specific alignment needs. Then, we provide a step-by-step installation process, ensuring each new panel is perfectly aligned. Finally, post-installation verification ensures everything is in order. Master these techniques and ensure your full panel replacement enhances your home’s curb appeal and robustness.
- Pre-Replacement Assessment: Identifying Alignment Needs
- Step-by-Step Guide: Aligning New Panels Perfectly
- Post-Installation Verification: Ensuring Proper Alignment
Pre-Replacement Assessment: Identifying Alignment Needs
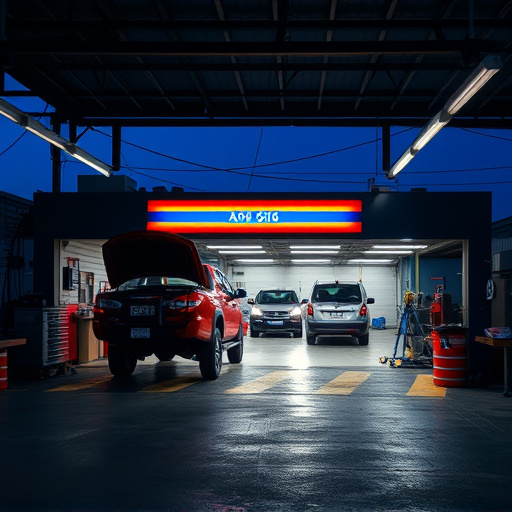
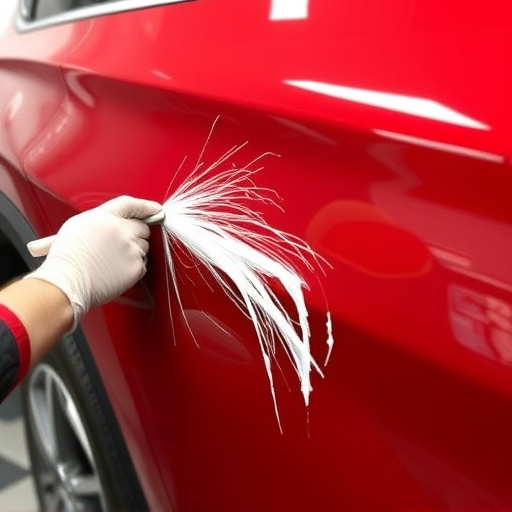
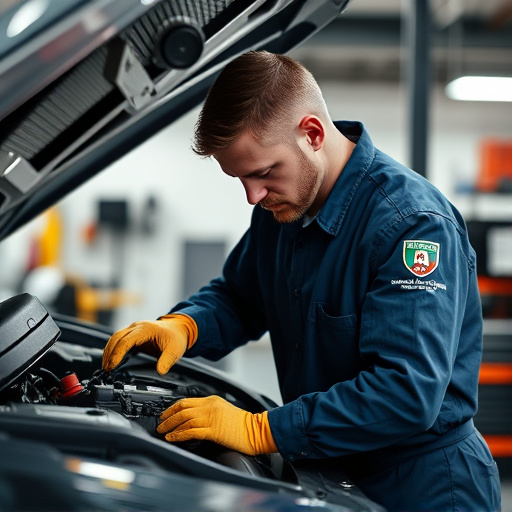
Before initiating a full panel replacement, a thorough pre-replacement assessment is imperative to identify and address alignment needs. This initial step involves meticulous inspection and diagnosis, ensuring that every component of the car body—from door frames to fenders—is accurately aligned and in optimal condition. Skilled technicians in a reputable collision repair shop or car restoration facility will use advanced tools and techniques to measure and document existing misalignments, which can be caused by various factors such as accidents, wear and tear, or manufacturing defects.
During this phase, assessing the structural integrity of the car body is equally crucial. Car paint repairs might be necessary to address any existing damage or imperfections that could impact alignment post-replacement. By proactively identifying these issues, technicians can ensure a seamless full panel replacement process, resulting in a restored car with improved aesthetics and enhanced safety features.
Step-by-Step Guide: Aligning New Panels Perfectly
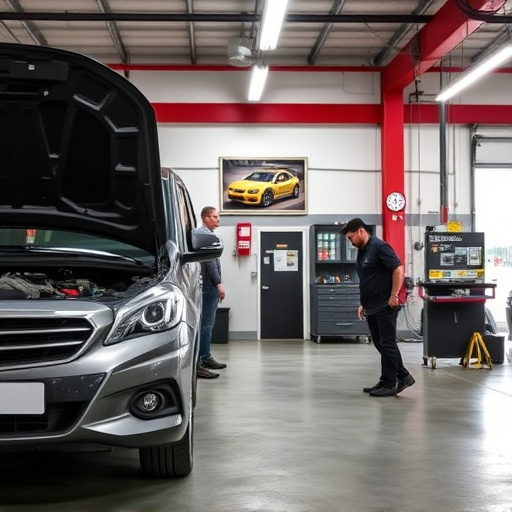
Performing a full panel replacement requires precise alignment for a seamless finish. Here’s a step-by-step guide to ensure your new panels are perfectly aligned, delivering top-notch results in any vehicle body shop or fleet repair service:
1. Prepare the Surface: Begin by thoroughly cleaning and inspecting the area where the new panel will be installed. Remove any debris, rust, or old sealing compounds. This ensures a clean slate for accurate alignment.
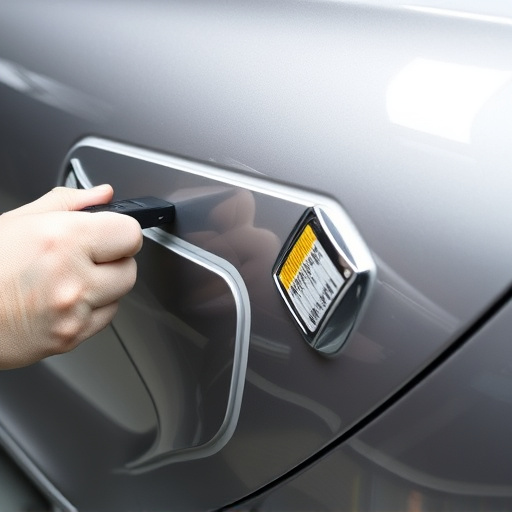
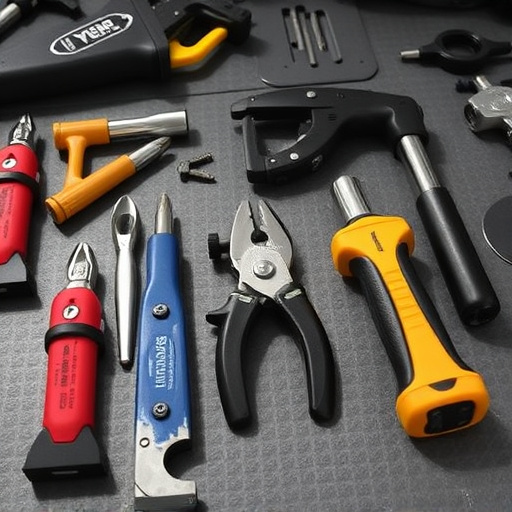
2. Mark Reference Points: Using measuring tools, identify and mark key reference points on both the new panel and the surrounding vehicle body. These marks should align with corresponding points on the car’s structure to ensure precise positioning. Marking is crucial for achieving the best fit during full panel replacement.
3. Attach Alignment Guides (if applicable): Some panels come with pre-installed alignment guides or brackets. Secure these to the car’s bodywork according to the manufacturer’s instructions. These guides serve as reliable references, making it easier to align the panel accurately.
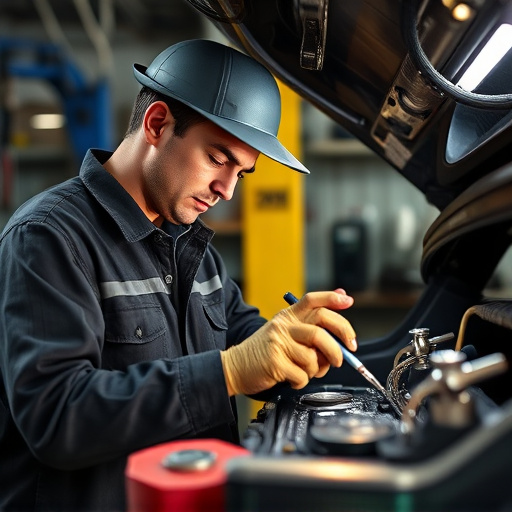
4. Position and Check Aligned Panels: Carefully lift the new panel into place, aligning it precisely with the marked reference points. Ensure all edges sit flush against the adjacent panels and body lines. Double-check alignment from various angles to catch any misalignments early on.
5. Secure with Fasteners (and sealing compounds): Once satisfied with the alignment, secure the new panel using appropriate fasteners as per the manufacturer’s guidelines. Apply sealing compounds for added protection and a seamless finish, completing your meticulous alignment process.
Post-Installation Verification: Ensuring Proper Alignment
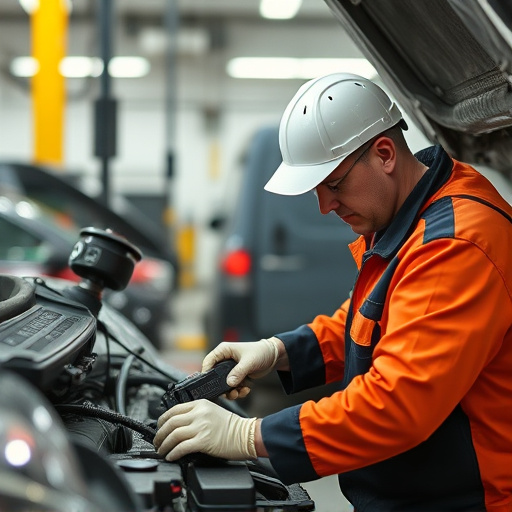
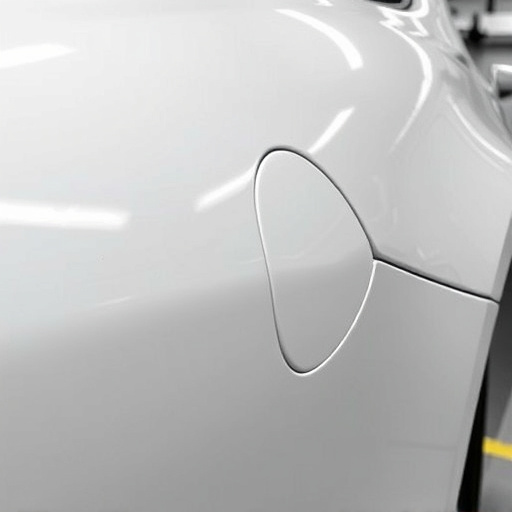
After completing a full panel replacement, the final step in ensuring a quality job is performing thorough post-installation verification. This involves meticulous checks to confirm that all panels are aligned perfectly, creating a seamless finish. It’s during this stage that any minor misalignments or gaps can be spotted and rectified before they become more apparent issues.
Proper alignment is not just about aesthetics; it plays a vital role in the overall structural integrity of the vehicle. In auto glass repair and collision repair services, for instance, precise alignment guarantees safety and performance. By verifying the alignment post-installation, auto body services can ensure that the replacement panel integrates seamlessly with the existing panels, providing both functionality and visual appeal, thus enhancing the overall quality of the repair work.
When undertaking a full panel replacement, meticulous panel alignment techniques are essential for both aesthetic appeal and structural integrity. By following a structured approach, from pre-replacement assessment to post-installation verification, homeowners and professionals can ensure new panels are perfectly aligned, creating a seamless and lasting finish. This comprehensive guide provides the necessary tools to navigate the process successfully, ensuring a top-quality outcome for any full panel replacement project.