


Following OEM recommendations for full panel replacements ensures structural integrity and safety in vehicles. This process involves careful preparation, using correct parts specific to the model, accurate installation per OEM specs, and final inspection to maintain quality, aesthetics, and enhance collision center/auto shop reputation, avoiding issues from inferior parts or improper alignment.
“In the automotive industry, ensuring proper full panel replacement is paramount for vehicle aesthetics and safety. This comprehensive guide delves into the OEM (Original Equipment Manufacturer) guidelines crucial for successful full panel swaps. We’ll explore recommended practices, from understanding specific manufacturer recommendations to a step-by-step installation process. Furthermore, we’ll highlight common mistakes to avoid, ensuring professionals and enthusiasts alike achieve expert-level results in their full panel replacement projects.”
- Understanding OEM Recommendations for Full Panel Replacement
- Step-by-Step Guide to Ensuring Proper Installation
- Common Mistakes to Avoid During Full Panel Swap
Understanding OEM Recommendations for Full Panel Replacement

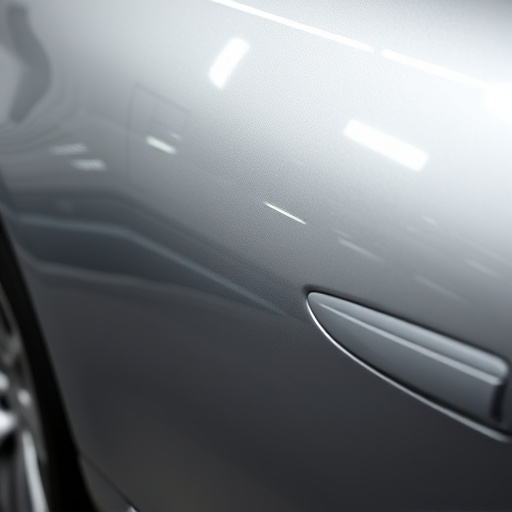
When considering a full panel replacement for your vehicle, understanding Original Equipment Manufacturer (OEM) recommendations is paramount. OEM guidelines are designed to ensure that any replacement parts meet the exacting standards and specifications set by the vehicle’s original designer. Adhering to these guidelines guarantees not just visual similarity but also structural integrity and safety. This is particularly crucial in cases where the panel being replaced houses critical components or plays a vital role in the vehicle’s overall structure.
OEM recommendations for full panel replacement encompass more than just the physical aspect. They also guide tire services, dent repair, and vehicle repair services to ensure that the replacement process doesn’t compromise the car’s performance or safety features. By following these guidelines, automotive professionals can offer customers superior quality repairs, enhancing the vehicle’s longevity and ensuring a seamless driving experience.
Step-by-Step Guide to Ensuring Proper Installation

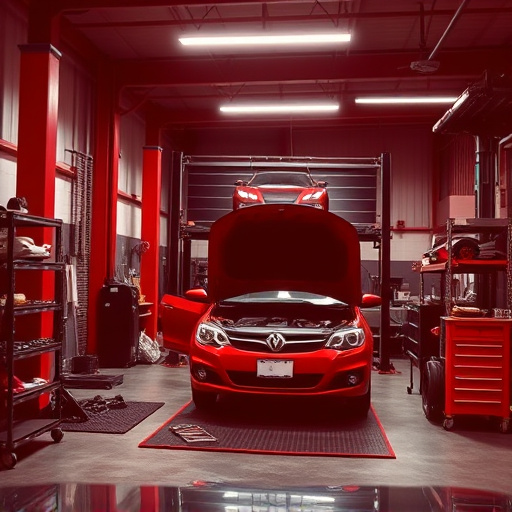
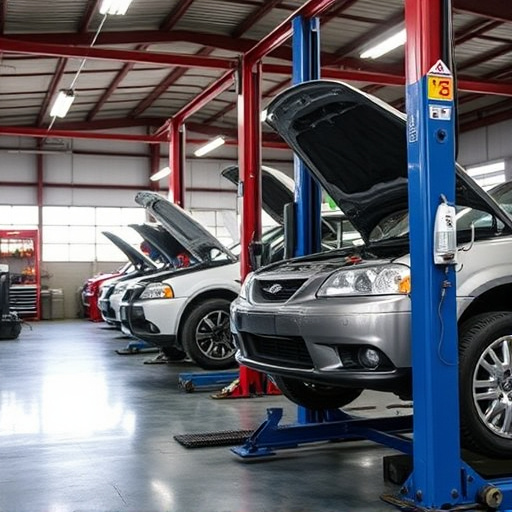
Properly installing a full panel replacement is key to ensuring the safety and aesthetics of any vehicle undergoing automotive restoration. Here’s a step-by-step guide for collision centers or auto repair shops looking to perfect this process:
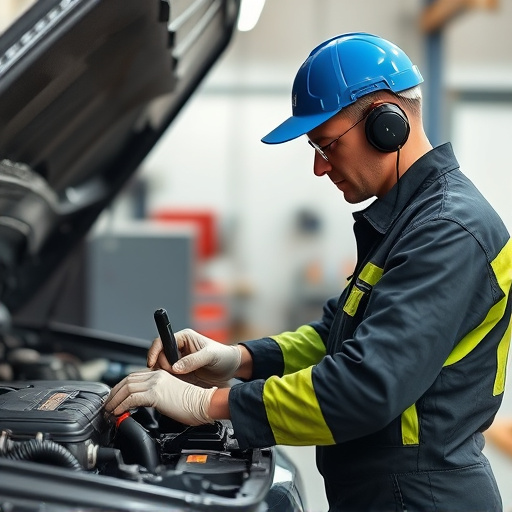
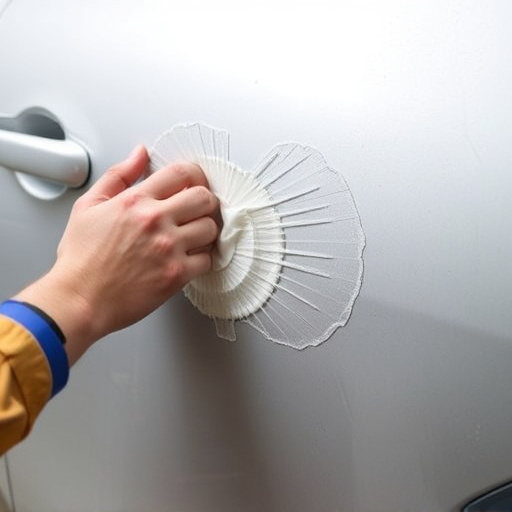
1. Preparation: Begin by thoroughly cleaning and inspecting the damaged area, removing all debris and checking for underlying damage. Ensure you have all necessary tools and replacement panels specific to the vehicle model, often available from trusted manufacturers. This step is crucial in aligning with OEM (Original Equipment Manufacturer) guidelines.
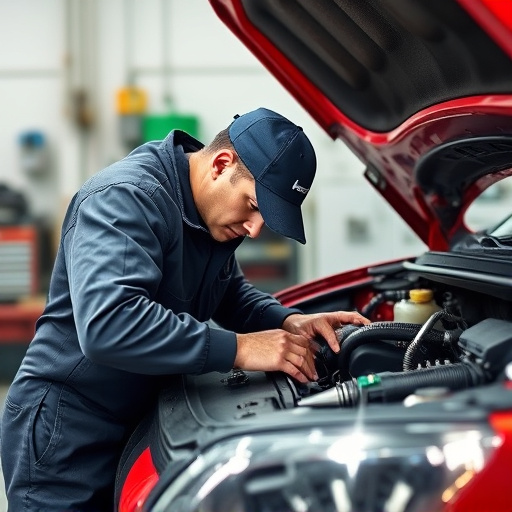
2. Demounting and Removal: Next, carefully demount and remove the existing panel, taking note of any connectors, brackets, or seals. Use specialized tools to separate these components without damaging them, as reinstallation may require reassembling them. This meticulous process demands skill and attention to detail, especially in tight spaces.
3. Installation: Position the new panel accurately, ensuring it aligns perfectly with the vehicle’s structure. Secure it using appropriate hardware, following OEM specifications for torque settings. Reinstall any connectors and seals, verifying their functionality before closing out the repair.
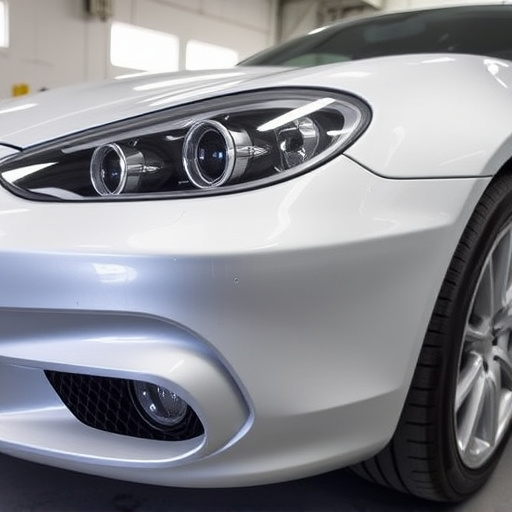
4. Inspection: Conduct a final inspection to confirm the work meets OEM standards. Check for proper alignment, security of all components, and visual appeal, ensuring no signs of gaps or misalignments. This step is vital in delivering a high-quality auto restoration service, making your collision center or auto repair near me stand out.
Common Mistakes to Avoid During Full Panel Swap

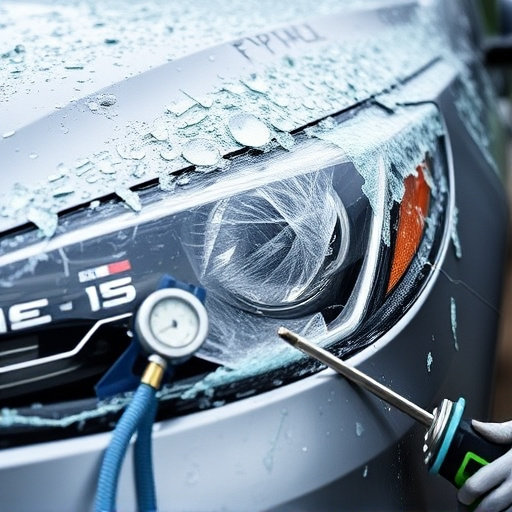
During a full panel replacement, whether it’s for automotive repair or car restoration, several common mistakes can significantly impact the outcome and quality of the work. One of the most frequent blunders is using inferior quality parts, which may look similar to OEM (Original Equipment Manufacturer) parts but lack the necessary strength and durability. This can compromise the structural integrity of the vehicle, leading to future issues. Always ensure that replacement panels meet or exceed OEM standards for material composition and construction methods.
Another mistake to avoid is improper alignment and fitting of the new panel. Panels must be fitted precisely to ensure a seamless finish, both aesthetically and functionally. In collision repair, hasty installation often occurs due to time constraints or lack of skill, resulting in misaligned panels that create gaps or overlap. This not only affects the car’s appearance but can also lead to water intrusion, affecting the vehicle’s interior and potentially causing further damage. Meticulous attention to detail during installation is crucial to prevent these issues.
When carrying out a full panel replacement, adhering to Original Equipment Manufacturer (OEM) guidelines is paramount for ensuring both aesthetic excellence and vehicle safety. By understanding these recommendations, following a meticulous installation process, and steering clear of common mistakes, you can confidently achieve a flawless result that maintains your vehicle’s value and performance. Remember, proper execution of a full panel replacement not only enhances the car’s exterior but also contributes to long-term reliability.